Boa for Eclipse IDE
NOTE: the Eclipse plugin is no longer supported and currently does not work. The current IDE support is the VSCode extension.
The Boa Eclipse plugin is open source and available on GitHub:
Boa XText Ecilpse Plugin
We welcome contributions from the community!
Installing the Boa plugin
The Boa Eclipse plugin can be installed from our update site: http://boa.cs.iastate.edu/
To add an Eclipse Update Site, please refer to this
reference guide.
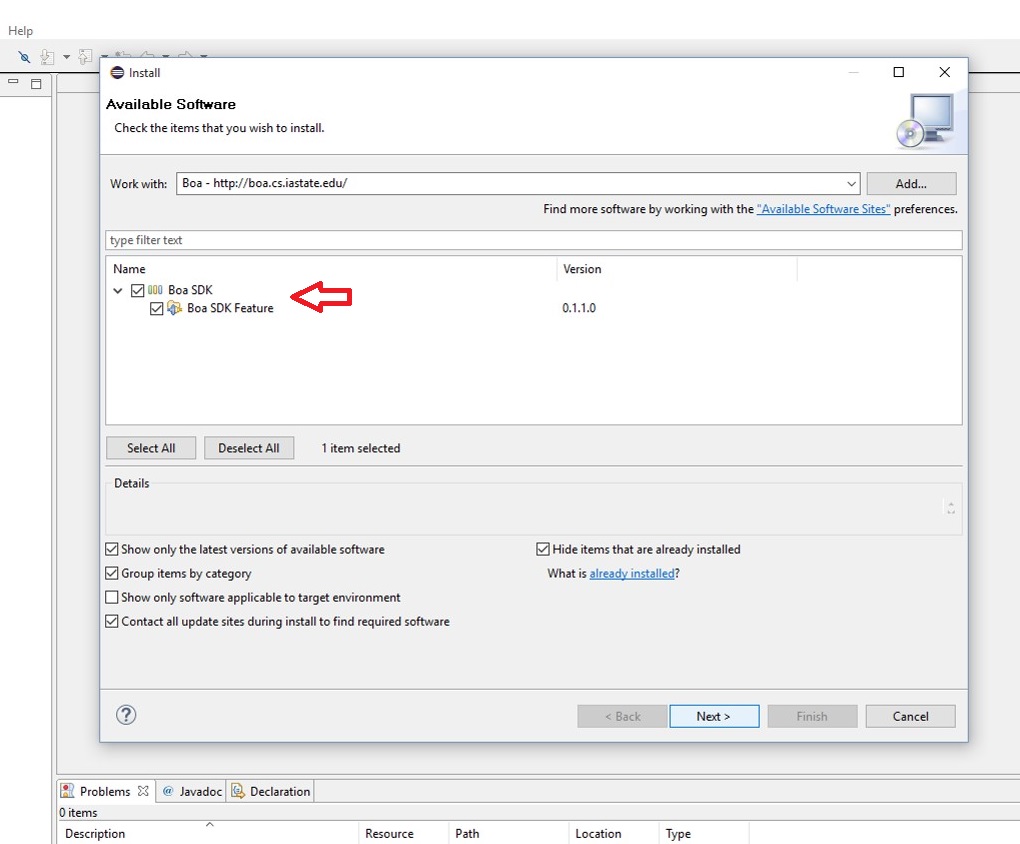
When you add the Boa site to Eclipse's list of Update Sites, Eclipse verifies the integrity of the site and lists the software install options. For Boa, there is just the Boa SDK. Make sure that item is checked and hit "Next >".
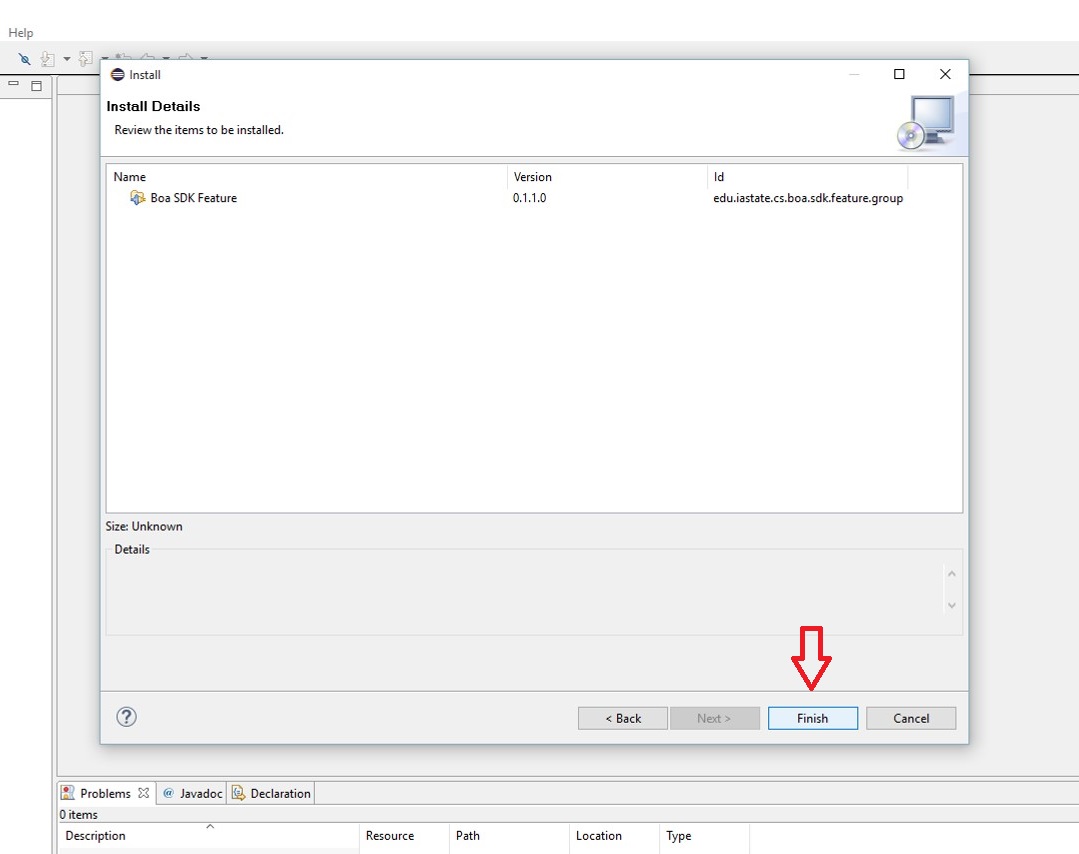
Eclipse will show you a verification page. After hitting "Finish" at the bottom of the page, the download and installation of the Boa plugin begins.
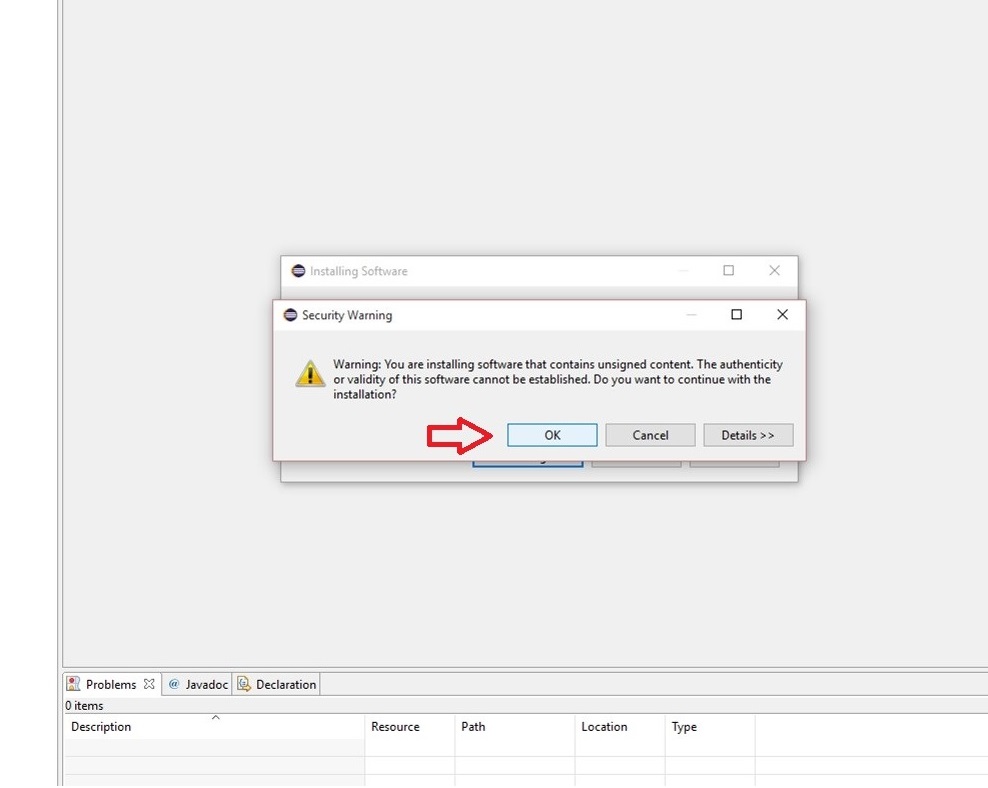
While the plugin is downloading from the update site, you may get a warning that the software may be coming from an unverified publisher. This is because the update site does not have an SSL certificate to present. If this is acceptable, you can click "Ok" to continue the installation process
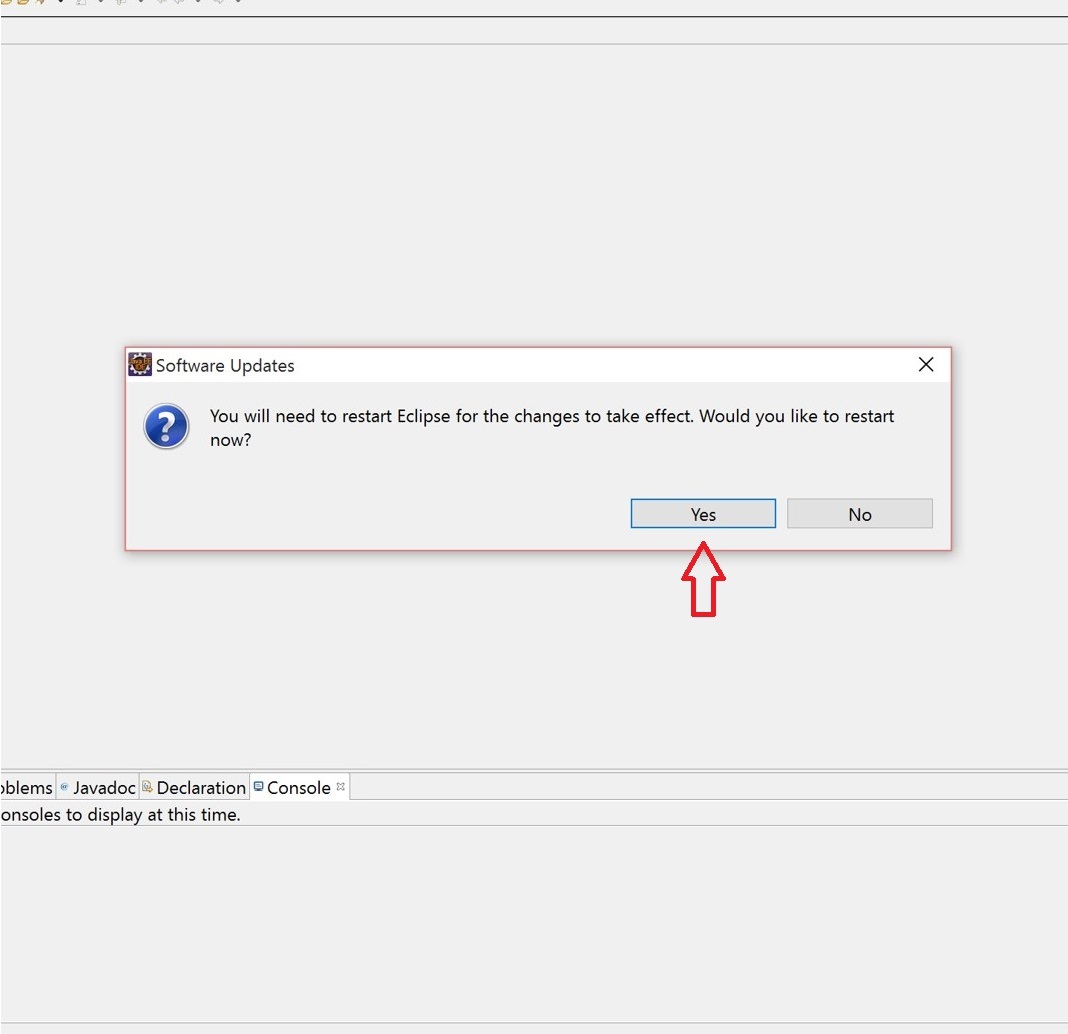
After the plugin installs, restart Eclipse to finalize the process and activate the downloaded modules.
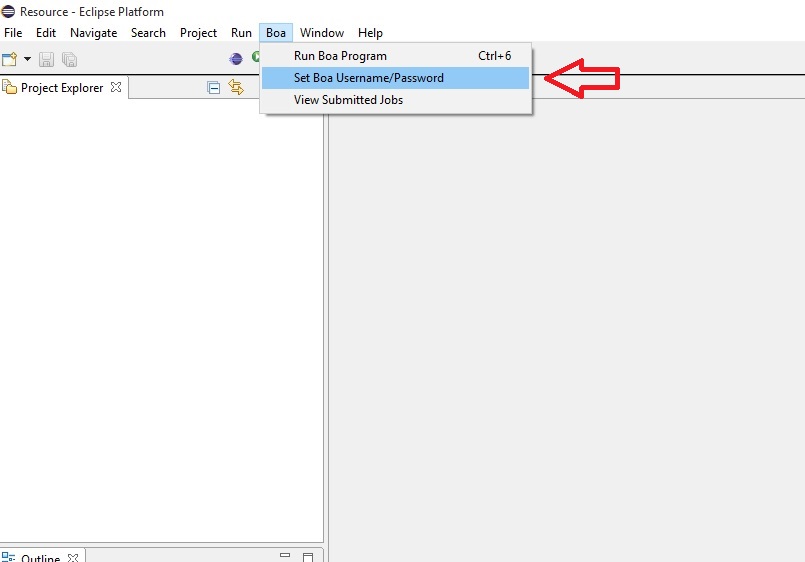
When Eclipse starts up again, you'll notice a Boa menu has been added. To fully take advantage of the software, you'll need to sign into the plugin using your Boa credentials. To do this, click on the Boa menu option and select "Set Boa Username/Password"
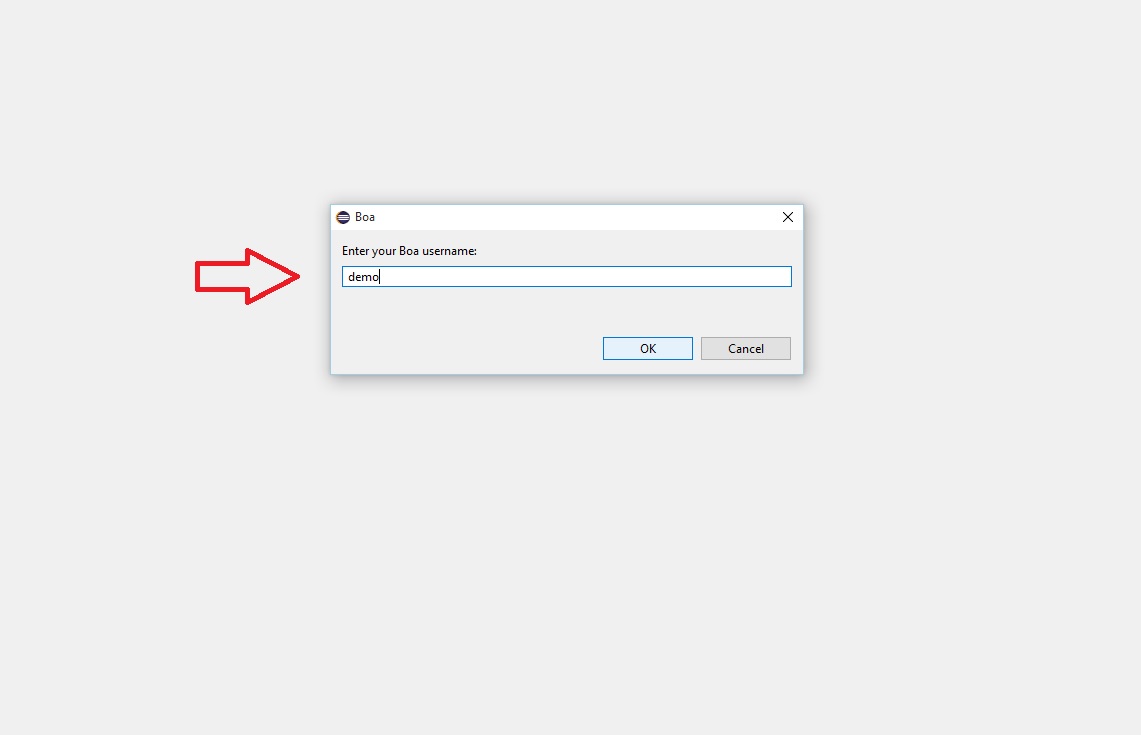
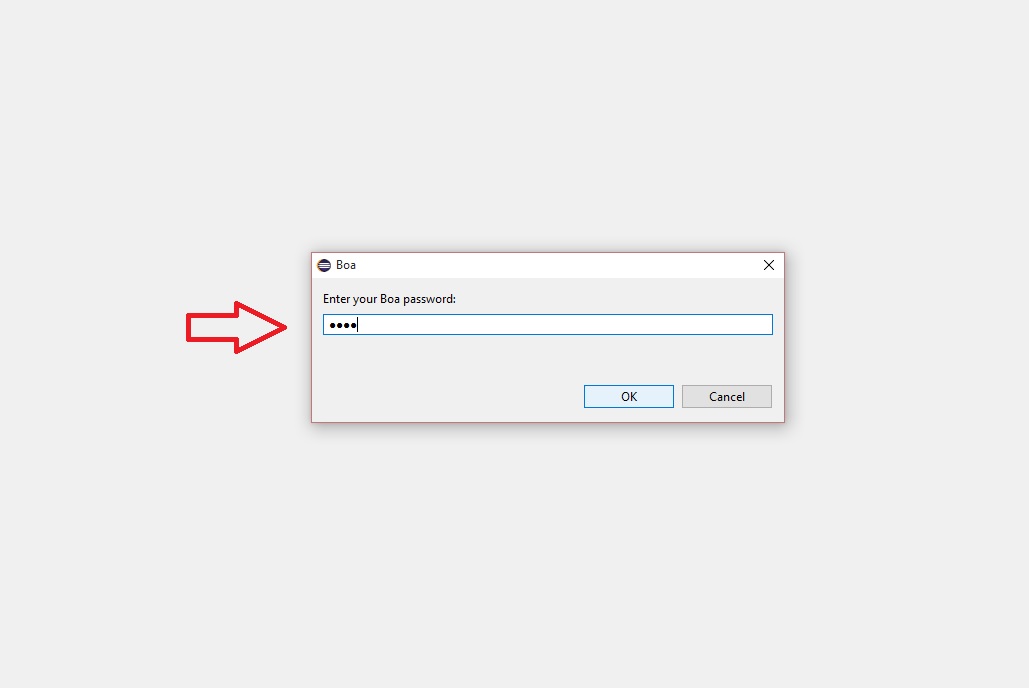
Windows will appear with a prompt to submit your username and password. Both are securely stored with Eclipse in an encrypted form. If encryption has not be used by Eclipse before, you will be asked to supply a master password as a recovery option.
At this point, the Boa plugin is ready to use. Scroll down to learn more about the features of this plugin.
Create a Boa program
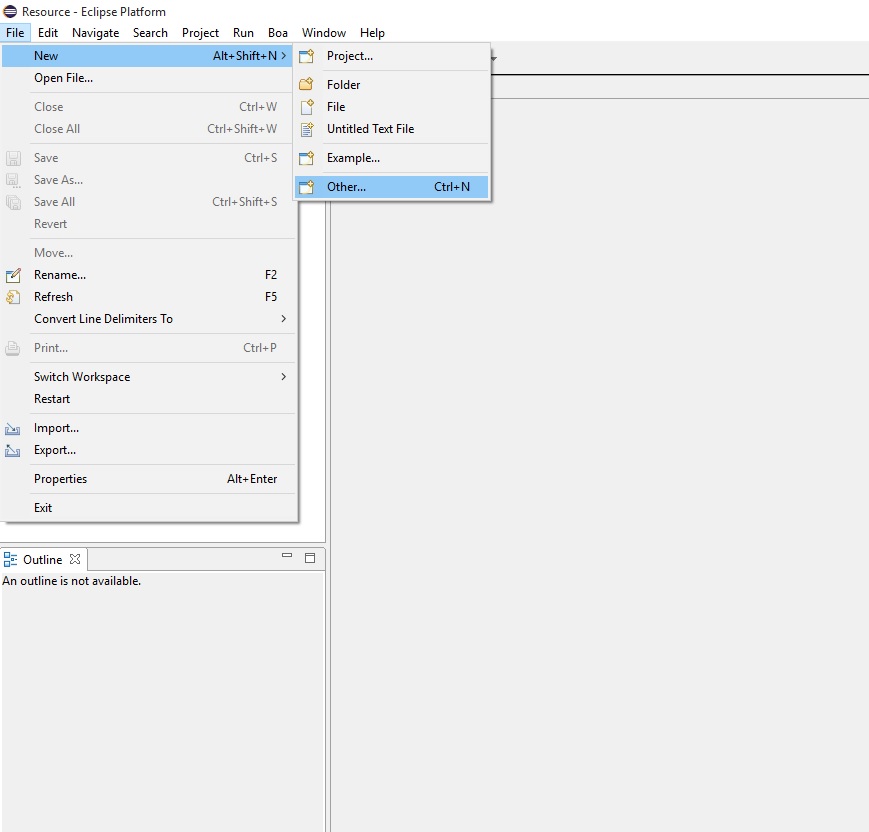
Open Eclipse, select File > New > Other...
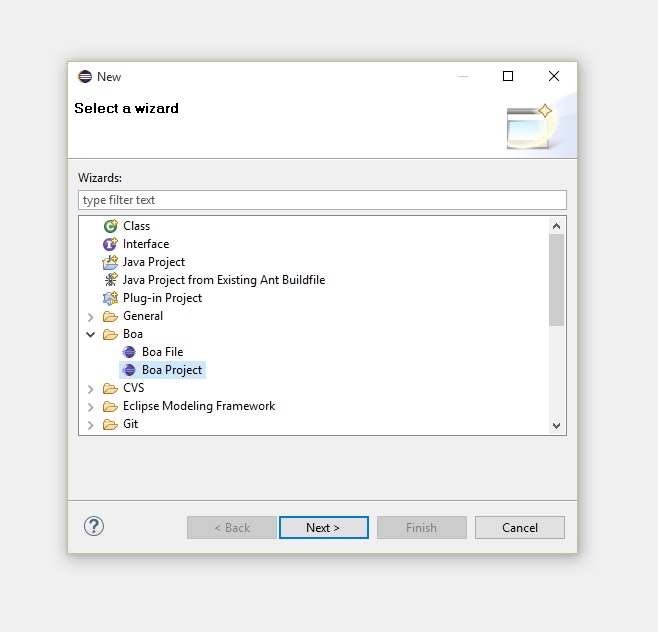
Here you'll see a Boa folder with options to create either a project or file. Select project.
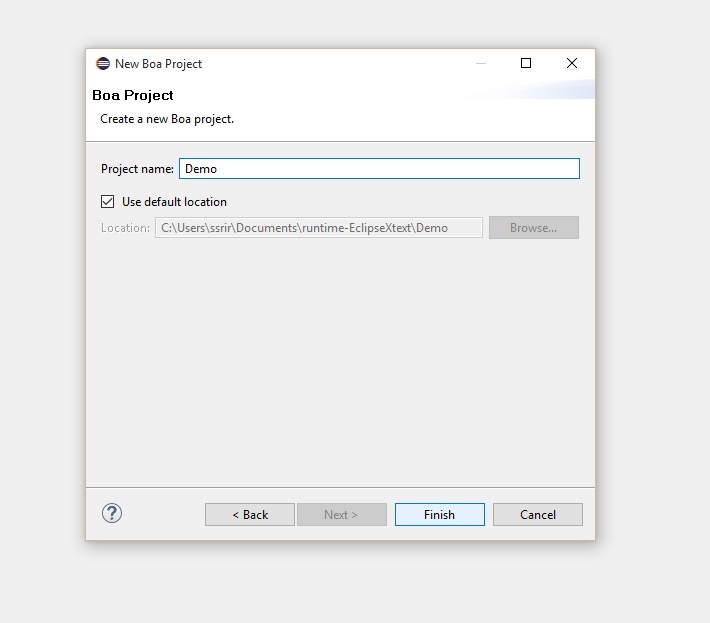
Give your project a name. Ensure the "Use default location" box is checked, then press "Finish".
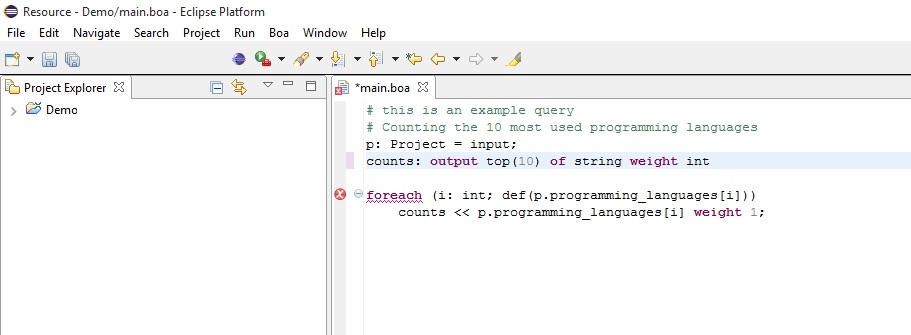
As in the picture below, you should now have a standard Boa program with a sample program already written. If your Eclipse has never worked with Xtext before, you will get a warning asking if you would like to attach the Boa nature to the project. Confirm that you would like to attach the nature. From that point onward, Eclipse will recognize all files with .boa extensions.
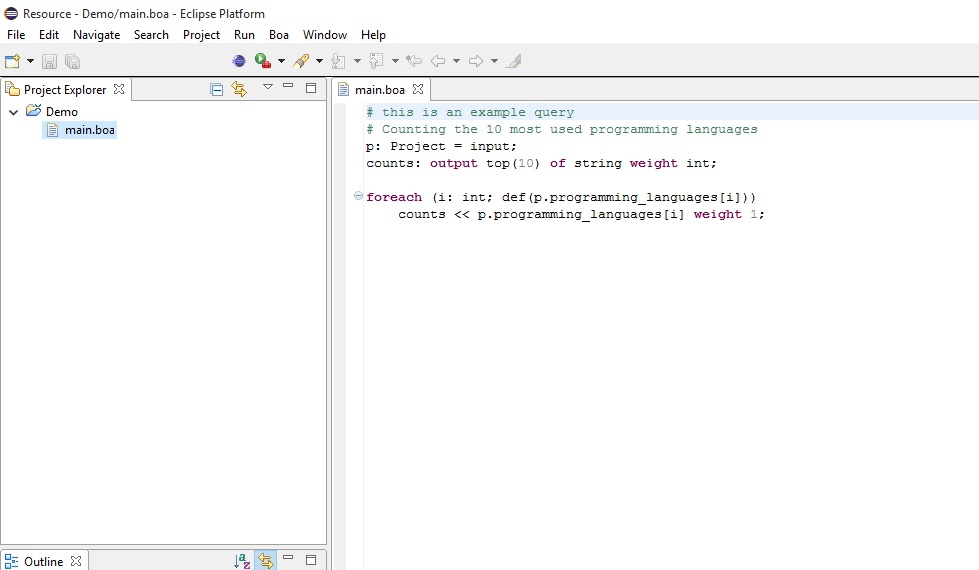
Confirming the attachment of the Boa nature also means that all Boa programs will receive syntax checks from the plugin. As in the picture below, mistakes in a Boa program can be detected and reported. Keeping the plugin up to date with the latest release can ensure that you get the latest improvements in Boa such as content assist, quick fixes, syntax coloring, and validation.
Run a Boa program
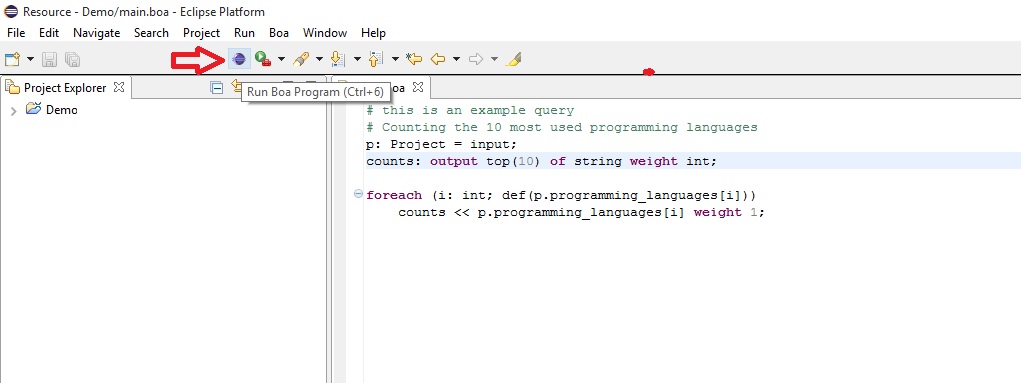
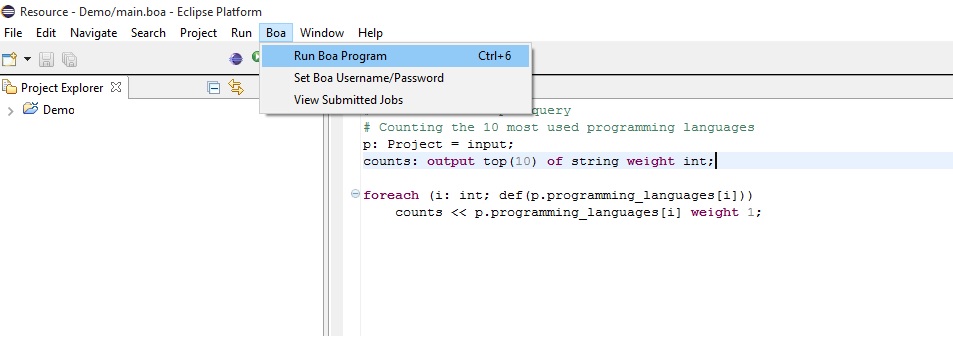
Once you have opened the Boa program you want to run in an editor, press the Boa quick run button (appears as either the Eclipse logo or a red square). Alternatively, you can select the Boa menu and choose "Run Boa Program".
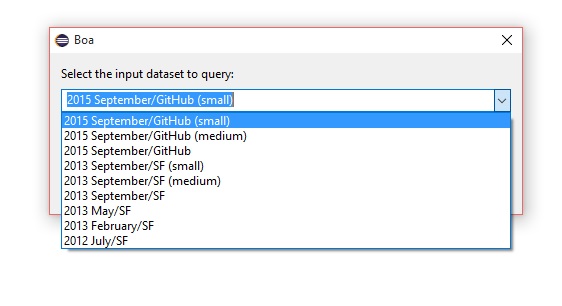
You will be prompted to select a dataset that you'd like to execute the Boa program against. For beginners, we recommend running against the datasets marked as small (since they will yields results more quickly).
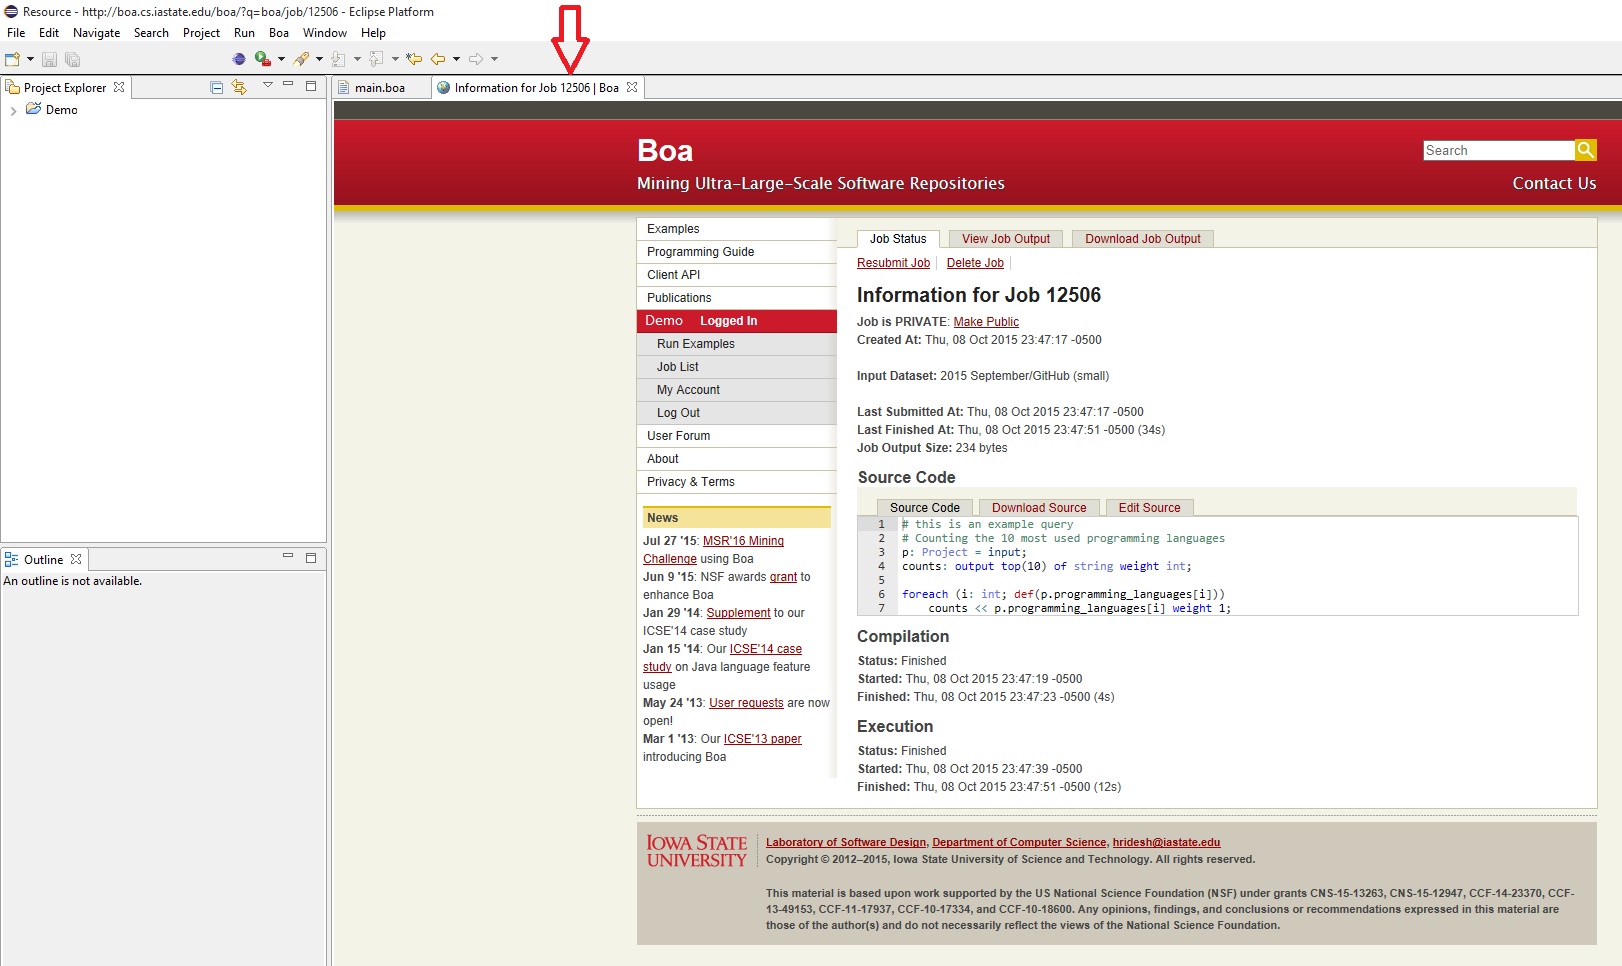
After submitting your program to the Boa server, Eclipse will open an in-browser webpage in a new tab. It will likely say Access Denied since the user session has not been initiated. Type your credentials into the forms located in the left column and you will be directed to the webpage containing details of your job. This page is live and will be updated when there is a change in your job status.
View past jobs and job details
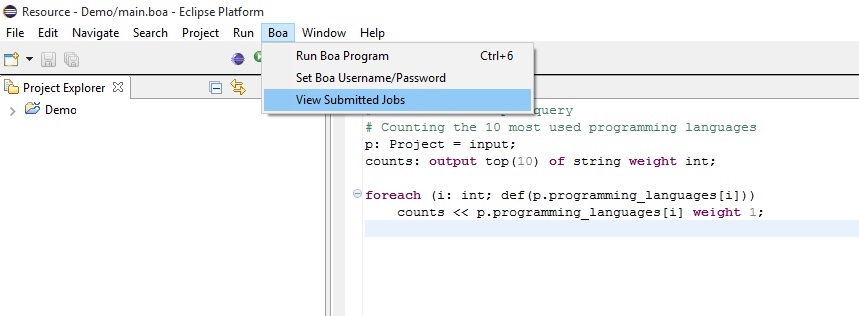
Select the Boa menu option, then press "View Submitted Jobs". This will open a new view at the bottom of the window.
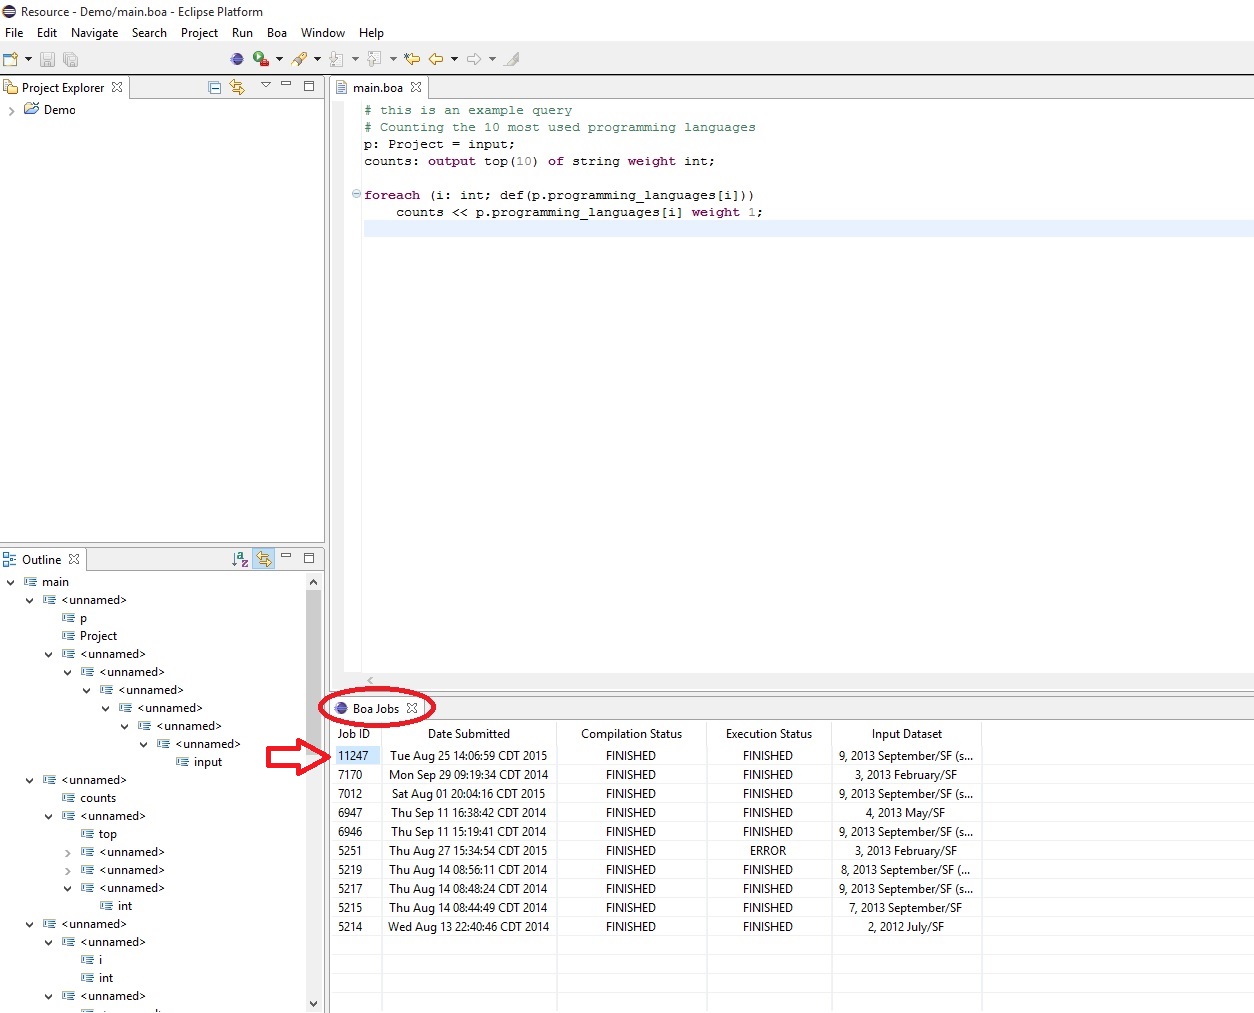
From here, you can view some basic information about your past Boa programs. If you have many Boa programs, you may have to use the arrow keys located at the top right of the view to fetch older jobs.
For any particular job, double-clicking the job ID (located in the far left column) will open a new view where you can see more detailed information about that job.
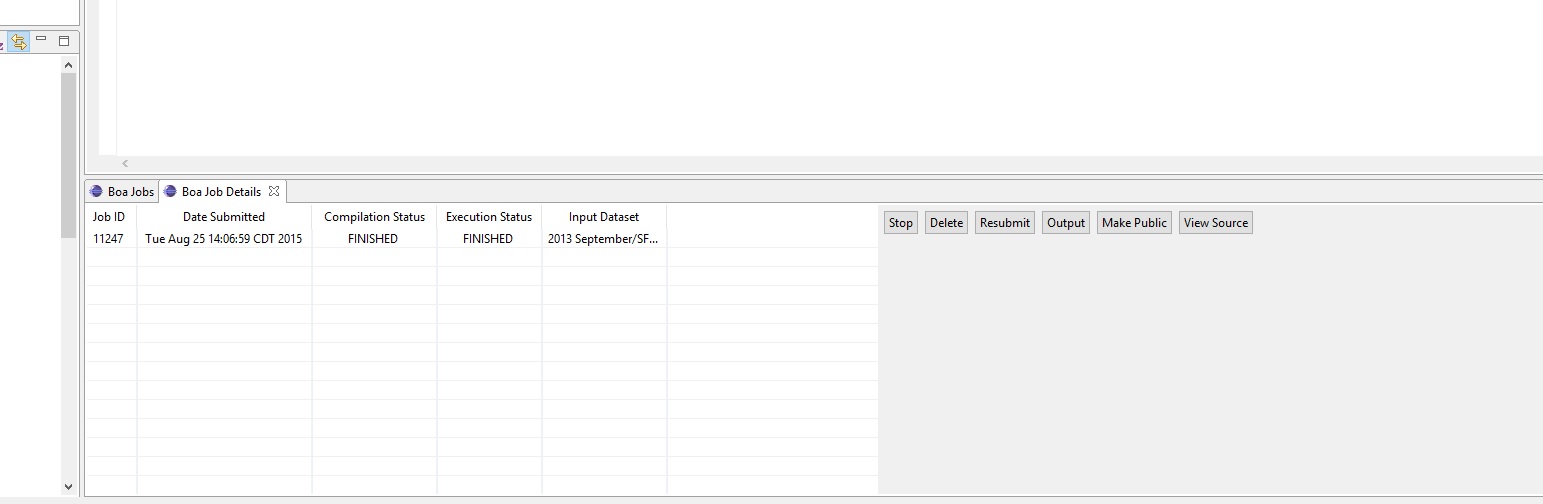
After selecting a particular job, the Job Details view will give you the ability to manage that job. The options on the right-hand side of the view are specific to the job chosen. For example, choosing to "Resubmit" a job will take the source code of the program and submit it to Boa as a new program to be run against the same dataset.
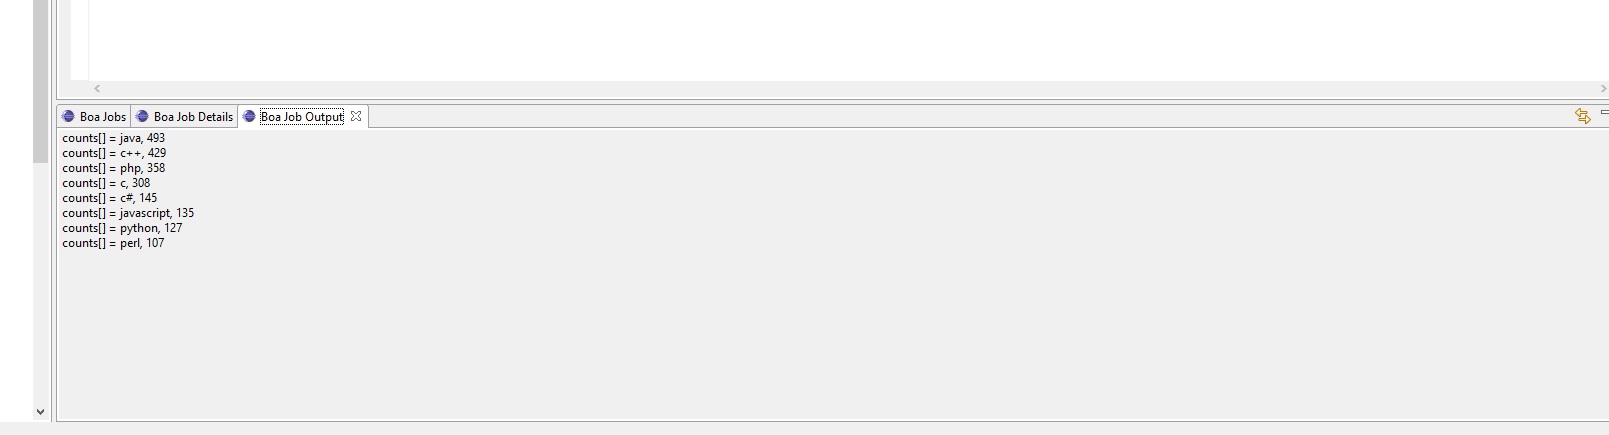
If you choose to view the job's output, a new view will open. This Output view will download that particular job's results (assuming it executed successfully) and display it.
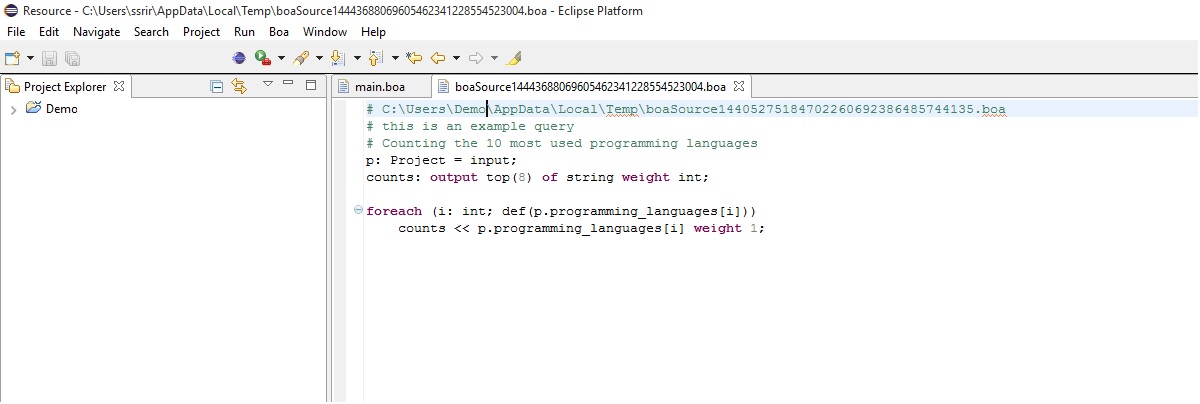
If you choose to view the job's source code, Eclipse will download the source code to a temp file and open that file in an editor. From here you can save it to your workspace or discard it.